Product limitations checked against Drive Medical's published clamp-on tub-rail specifications and safety information; bathroom-safety advice checked against MedlinePlus; ADA-covered bathtub and grab-bar requirements cross-checked against the U.S. Access Board. Individual products have not been physically tested. Verify the current manual for the exact model before installation.
A handhold beside a bathtub is often the first improvement people consider when stepping over the rim becomes uncomfortable. The difficulty is that several very different products are sold under the same search term: bathtub grab bar. A bar fixed into the wall, a clamp-on rail attached to the tub, a suction handle and a long transfer bench do not have the same attachment method, purpose or safety limits.
The right choice starts with a concrete question: Which part of getting into or out of the bathtub is difficult? Someone who needs a steady place to put a hand while stepping may benefit from a suitable rail. Someone who cannot safely lift a leg over the wall may need a seated transfer solution instead. Someone who tends to lose balance suddenly should not rely on an unverified temporary handle.
This guide explains the differences, the measurements to take and the checks that matter before purchasing or installing a rail.
Clamp-on bathtub rail vs wall-mounted grab bar
| Support type | Attachment | Most relevant use | What can go wrong |
|---|---|---|---|
| Clamp-on bathtub safety rail | Clamps to an approved bathtub rim | A handhold at a compatible tub entrance | Incompatible rim, weak/fragile surface, slipping clamp or unsuitable force direction |
| Wall-mounted grab bar | Approved fasteners into suitable structural backing or a listed anchoring system | Support along the entry, standing or seated transfer path | Incorrect placement or attachment to tile/drywall without suitable support |
| Suction grab handle | Vacuum contact with an approved smooth surface | Limited positioning support if expressly permitted by the manufacturer | Loss of suction, unsuitable tile texture and overreliance as a weight-bearing support |
| Tub transfer bench | Legs supported inside and outside the bathtub | Crossing the bathtub wall while seated | Incorrect fit, unstable legs or a transfer beyond the person’s capabilities |
A wall-mounted grab bar is not automatically better merely because it is permanent; it also has to be correctly positioned and properly anchored. Likewise, a clamp-on rail is not automatically unsafe: a suitable model installed exactly as directed may help with a specific movement. The point is not to treat the categories as interchangeable.
For wall installations, see our grab bar installation cost guide. If stepping over the tub is no longer manageable, compare tub transfer benches before buying a handle that does not address the underlying problem.
How a clamp-on bathtub safety rail works
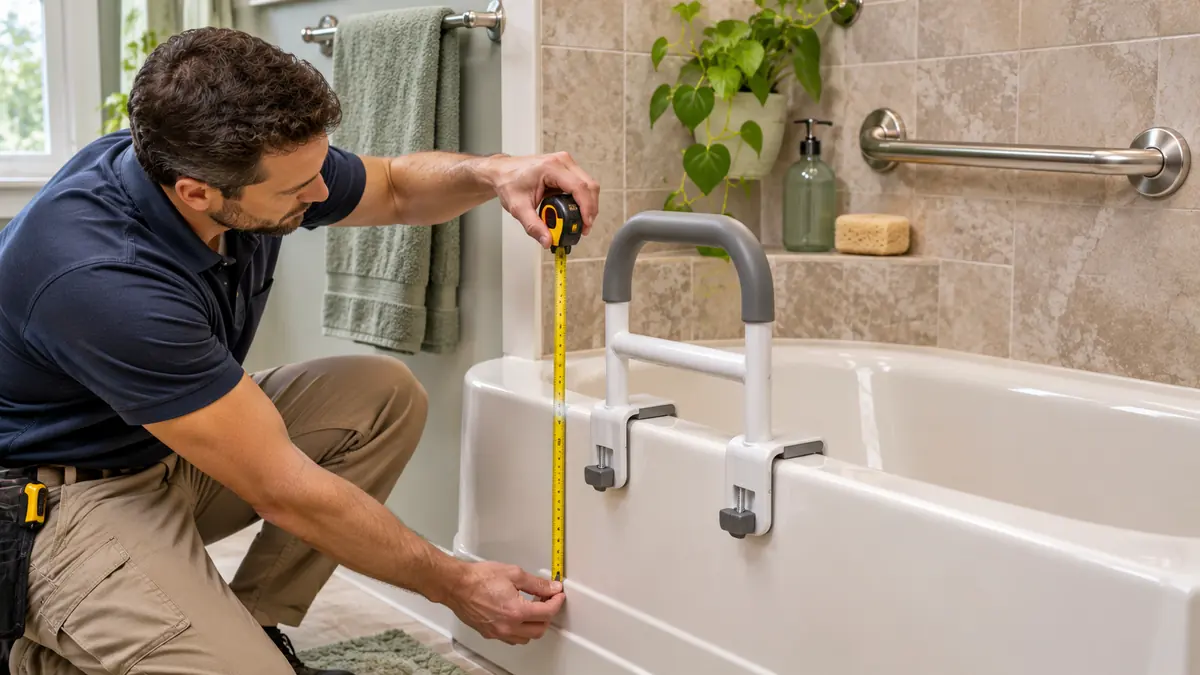
A typical clamp-on rail has a metal or molded support handle above the bathtub rim. A clamping mechanism grips the vertical side of the tub, often with protective pads at the contact points. Some models have one gripping level; others have two heights or an adjustable upper section.
The clamp must contact the tub as specified by its manufacturer. The handle should be located where the user can reach it before shifting their weight, not merely where the rail happens to fit.
There is no single clamp width, handle height or weight rating shared by all rails. As one published example, Drive Medical lists its RTL12036-ADJ adjustable model with a 3–7 inch clamp adjustment range, a 14.5–17 inch handle-height range and a 300-pound user-weight capacity. Those are specifications for that model, not general recommendations or evidence that it fits your bathtub. Check Drive Medical’s product specifications.
Weight-capacity numbers must be read together with the model’s instructions about permitted force direction and installation. A 300-pound rating does not mean that every angle of pulling, a fall arrest or a full-body transfer is approved.
Measure your bathtub before looking at products
The most common shopping mistake is assuming that a clamp labeled “universal” will fit every tub. Before ordering, check at least these six details.
| Measurement or feature | Why it matters |
|---|---|
| Rim thickness at proposed rail location | Must fall within the exact clamp’s approved adjustment range |
| Rim shape | Rounded, sloped or decorative edges may prevent full, stable pad contact |
| Available flat contact area | Some clamps need surfaces on both sides of the rim and clearance below it |
| Material and structure | Fiberglass, thin acrylic panels, steel and cast iron can behave differently under clamping pressure |
| Nearby objects | Bath screens, sliding-door tracks, faucets and shower curtains can interfere |
| Hand position during entry | Grip height and orientation must match the user’s approach and movement |
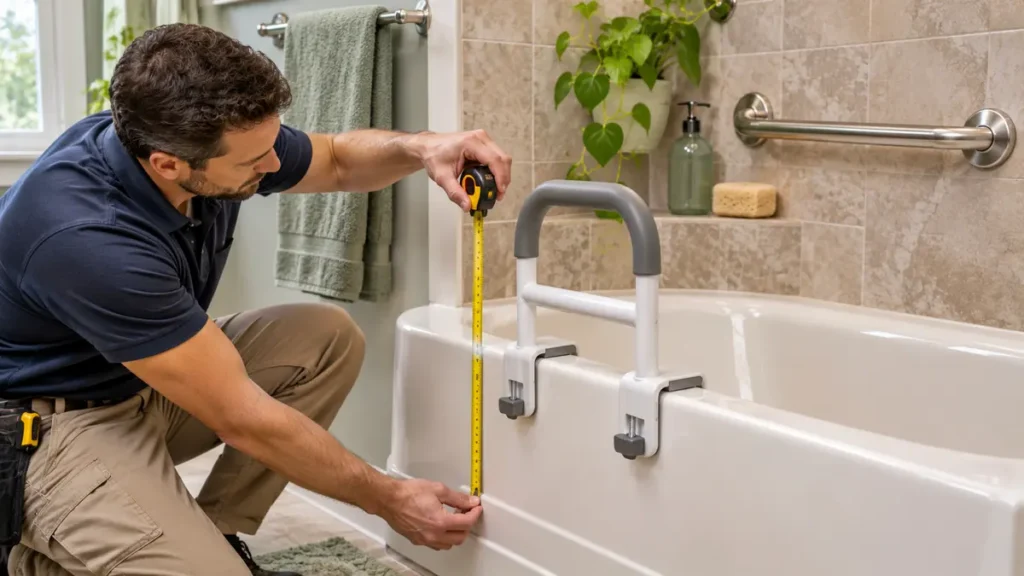
Measure the tub at the place where the handle would actually be installed. A tub apron can have different thicknesses along its length. A movable shower door or track may make a seemingly good mounting point unusable.
Can a clamp-on rail be used on fiberglass or acrylic tubs?
Do not assume it can. This is an important model-specific restriction. Thin or flexible tub walls may crack or deform when a clamp is tightened or loaded, especially if a void lies behind the finish. Over-tightening can also damage a surface even when the handle initially feels secure.
Product information is not always consistent across sellers. For example, Drive Medical’s current product listing says that its clamp-on rail fits most tubs and advises particular care when tightening on fiberglass. Other retailer listings for the same family of rails describe fiberglass tubs as unsuitable. This is a reason to obtain the current instructions for the exact model number and, where there is doubt, written confirmation from the manufacturer rather than guessing from a generic listing.
Never attempt to overcome a poor fit with extra padding, improvised spacers, clamps tightened beyond the instructions or modifications to the bathtub. If the tub material is uncertain, ask the tub manufacturer or a qualified installer.
A more permanent, structurally attached wall bar may be the better route where tub-rim clamping is unsuitable, provided the wall can be properly reinforced and the bar placed where needed.
Do clamp-on safety rails work on curved tub rims?
Only if the clamp and pads can make the contact required by the specific product. A curved rim can leave some of the clamping surface unsupported or concentrate pressure on a narrow point. The rail may look upright while the base is not actually secure.
Do not rely on the handle if its position changes under the checks permitted by the instructions. If there is no approved attachment surface, do not use that model.
Clamp-on, suction and permanent bars: which one can hold weight?
The word grab bar is used loosely in advertising, but attachment strength depends on the complete system. A wall-mounted bar designed for body-weight support needs suitable structural backing, approved fasteners and correct installation. A rim-mounted rail has different mechanical constraints. Suction handles have their own limitations and are not equivalent to permanent structural supports.
For ADA-covered bathing facilities, U.S. Access Board standards specify location, spacing and structural strength for grab bars in Sections 607 and 609. The strength provision includes a 250-pound force applied at points on the bar, fastener and supporting structure without exceeding allowable stresses. A consumer clamp-on rail is not automatically ADA-compliant simply because its package advertises a high weight capacity. Nor do ADA rules automatically apply to every strictly private residence. For the actual rules and diagrams, see the U.S. Access Board Chapter 6.
If the person will rely on a support for a major body-weight transfer or may fall suddenly, seek advice about a properly installed structural support and an appropriate transfer method rather than assuming a portable handle will be sufficient.
Where should a bathtub grab bar go?
Start by observing the sequence of movements without asking the person to make an unsafe demonstration. Where do they stand before entering? Which foot moves first? When do they need a handhold? Is the difficulty entering, standing up from a bath seat, or getting back out?
One handhold at the front edge may help at the initial step but do little for a person sitting low in the tub. Another person might need a wall bar closer to the shower area, or a second support for the exit sequence. A rail mounted behind the user can encourage twisting and reaching.
Check nearby fixtures. The chosen location must not obstruct the shower door, block a transfer bench, clash with a shower curtain or force the person to reach across the bathtub when the floor is wet. MedlinePlus recommends secure wall-mounted grab bars for entering and exiting the tub and advises that towel racks should not be used as supports. Read MedlinePlus bathroom-safety guidance.
When a bathtub grab bar is not enough
A person who cannot lift a leg safely over the side of the bathtub may still face the same problem after a rail is added. They would now have a place to hold, but the step-over movement remains.
In that situation, compare a tub transfer bench, which allows crossing the tub wall while seated, or consider a change to the bathing fixture. A bench has its own requirements for seated balance, leg movement and floor clearance; it is not appropriate for everyone.
For a person who needs wheelchair access or considerable caregiver assistance, an appropriately designed accessible shower may be more useful than a collection of portable handles. See our walk-in tub versus walk-in shower comparison.
If the person has frequent falls, cannot maintain standing balance or needs hands-on assistance, an occupational therapist can evaluate the actual bathroom and recommend a safer setup.
Installing a clamp-on rail: what to check
Use the instructions for your own model rather than treating these points as a universal installation procedure. A typical owner manual for a clamp-on rail calls for clean, dry contact surfaces, correct clamp orientation, careful tightening and a manufacturer-approved stability check. Some models need periodic retightening.
- Identify the precise model and read its current installation and material restrictions.
- Check that the tub and rim are sound and that the clamp fits without wedges or alterations.
- Clean and dry all approved contact surfaces as the manual specifies.
- Place the clamp in the permitted position and adjust it without exceeding the instructed tightening force.
- Perform the stability inspection described in the manual. If the rail slips, shifts or damages the finish, stop and reassess rather than simply tightening harder.
- Reinspect the rail regularly, especially after cleaning or any accidental impact.
If the rail moves, the tub flexes, the clamp does not sit correctly or the user must pull hard sideways to complete a transfer, stop using the setup. Do not practice a difficult transfer alone to test whether the device will hold. Seek a suitable alternative or qualified assessment.
How to compare two bathtub safety rails
| Specification | What to ask |
|---|---|
| Clamp adjustment | What rim thicknesses and shapes are actually approved? |
| Material compatibility | Does the manual allow the exact tub material and construction? |
| Grip geometry | Can the user reach the handle without twisting or leaning? |
| Permitted loading | What force directions and maximum user weight does the manufacturer allow? |
| Installation | Does it require tools, specific torque, extra parts or professional fitting? |
| Maintenance | How often must clamp security and contact pads be checked? |
| Warranty and spares | Are pads, fasteners and other wear items available? |
| Return conditions | Can the item be returned if the tub rim proves incompatible? |
A single tall handle is not always more useful than a lower one. The height has to match where the person can reliably place a hand during the actual movement. A dual-height rail can offer different grip positions, but it should not be purchased without confirming rim fit and safe hand placement.
What about cast iron, enamel steel and tile-covered tubs?
Materials that appear rigid can still have unsuitable rim shapes, finishes or concealed structures. An enameled cast-iron rim may be very strong but may not give a clamp the required flat contact area. A steel tub may have a rolled edge, while an acrylic or fiberglass unit may have a flexible apron and unknown reinforcement.
Do not assume a clamp is suitable merely because the tub is heavy or because it has worked on a different household’s tub. Verify the exact manufacturer-approved material, rim geometry and installation point. For a tile-front tub, the visible tile finish should not be assumed to provide an appropriate clamping surface.
Routine inspection and cleaning
Soap residue, moisture and frequent cleaning can affect pads and contact surfaces. Follow the product’s cleaning directions and examine the clamp, handle, screws and pads during routine bathroom maintenance.
Look for movement, corrosion, cracked plastic, deformed pads, loosened knobs and marks on the tub that suggest the clamp has shifted. If a model calls for retightening, follow its instructions rather than an improvised schedule. Replace damaged components with manufacturer-approved parts.
If the rail was removed for cleaning or the bathroom was remodeled, reinstall it from the beginning using the full instructions. A previous good fit does not guarantee the same result on a changed surface.
Frequently asked questions
Can you install a bathtub grab bar without drilling?
Yes, some clamp-on tub rails attach to a compatible bathtub rim without drilling. But they must fit the tub material and rim geometry, and their load and use restrictions may differ from those of permanently mounted structural grab bars.
Can a bathtub grab bar be used on a fiberglass tub?
Only when the current instructions for the specific rail explicitly permit that tub material and construction. Manufacturer and reseller descriptions sometimes conflict. Never over-tighten a clamp on fiberglass or assume that a product suitable for a metal tub will also be suitable for a fiberglass surround.
Are suction bathtub grab bars safe?
A suction handle should not be treated as equivalent to a properly anchored grab bar. Check the product’s expressly permitted use, surface requirements and warnings. Do not depend on an unverified suction device for substantial body-weight support or fall arrest.
Where should a grab bar be placed by a bathtub?
Where the person can reach it at the point they need support, without twisting or overreaching. Correct placement varies with entry direction, tub design and transfer ability. Wall-mounted bars in ADA-covered facilities have detailed technical rules, but those rules do not establish one universal layout for every private residence.
Does a clamp-on tub rail replace a transfer bench?
No. A clamp-on rail offers a handhold; a transfer bench provides a way to cross the tub wall while seated. If the main problem is lifting a leg over the rim, a rail alone may not solve it.
Is a 300-pound rated bathtub rail safe for a 300-pound person?
A listed capacity is only one factor and applies under the manufacturer’s stated conditions. Verify the actual user’s weight, tub compatibility, attachment method and permitted loading direction; do not interpret a weight rating as permission for full-body transfers or sudden fall loads.
Before you order: the bathtub grab bar checklist
- ☐ Identify the exact transfer difficulty and needed hand position.
- ☐ Measure the rim thickness and inspect its shape at the proposed location.
- ☐ Confirm tub material and whether the clamp model expressly permits it.
- ☐ Check door tracks, faucets, shower curtain and other nearby obstructions.
- ☐ Compare handle height, grip orientation and adjustment range.
- ☐ Read weight and force-direction limitations in the manufacturer manual.
- ☐ Confirm that no makeshift spacers or over-tightening will be needed.
- ☐ Decide whether a structural wall bar or seated transfer bench would solve the problem more safely.
- ☐ Recheck the rail after installation and at the intervals required by the manufacturer.
Sources and further reading
- Drive Medical — Clamp-On Tub Rail (model specifications and instructions)
- MedlinePlus — Bathroom safety for adults
- U.S. Access Board — Section 607 bathtubs and Section 609 grab bars
Continue with Bathroom Safety for Seniors, Grab Bar Installation Cost, Tub Transfer Bench Buying Guide and Walk-In Tub vs Walk-In Shower for related decisions.